


")

")


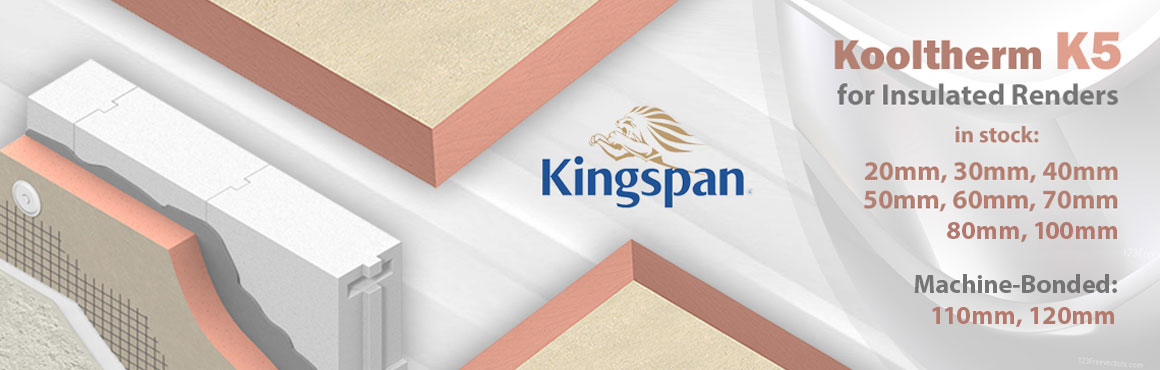


Kingspan Kooltherm K13 and K14 Installation Instructions

How to Install Insulated Plasterboards in a Few Easy Steps
If you are looking for the most suitable insulation product for your drylining project and are expecting to do it yourself, you have come to the right place. Namely, we are well aware of the fact that people are often trying to find ways of minimizing their insulation costs, since being aware of their necessity but still not willing to spend too much money in the process. One way of saving some money is by choosing a multifunctional product that will be able to meet all you requirements and expectations, and other refers to the ability of installing the product you have chosen without any professional help. Well, if this is the case with you, then we have just the thing you need – a high quality product that can be easily installed in only a few simple steps. This is why we offer Kinsgspan Kooltherm K13 and K14 installation instructions.
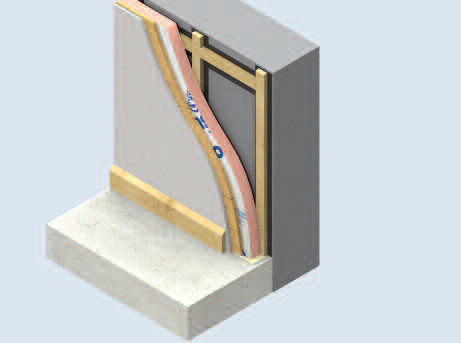
First things first, we are talking about highly effective insulated plasterboards suitable for any internal drylining project, and able to meet different insulation requirements, since available in different insulation core thicknesses. The Kooltherm K13 and K14 boards are both consisted of a high performance rigid insulation core, faced on both sides with gypsum plasterboard on one side and differing in reverse facing, whereas the K13 is covered with a glass tissue while the K 14 boards are covered with the low emissivity composite foil. The boards are fire resistant, offer a level of water vapour and condensation resistance, if installed correctly and most importantly offer substantial thermal performance. Another difference between the K13 and K14 insulated plasterboards is found in their installation process, since K13 is designed for standard plaster dot and dab/adhesive bonding while the K14 boards a re installed by the means of appropriate mechanical fixings. Both methods shall be explained right here.
Prior to commencing the installation, make sure that the ceiling lining is properly positioned, that the mounted fittings are installed in accordance with the required additional wall thickness and that the wall surface is dry and clean and all wallpaper and mounted fittings removed.
K13 Plaster Dab/Adhesive Bonding Installation
This installation method can be used on masonry cavity and rendered masonry solid walls, where there is no risk of moisture penetration, why it should not be applied to non-rendered masonry walls nor timber frame walls.
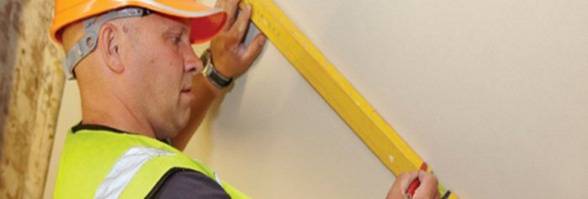
The first step in installing K13 insulated plasterboards includes marking the guidelines on the floor and ceiling, indicating the position of the edges of the boards. The chosen plaster or adhesive should then be applied to the masonry substrate, around the perimeter of the walls and around any opening (around door and window openings, for example) so that proper air-tightness of the construction is achieved. Vertical dabs of the plaster or adhesives are then applied to the background, whereas its size and position will depend on the chosen plaster or adhesive. Once the dabs have been properly applied, the boards are then positioned against the plaster/adhesive and pressed into position, making sure they follow the pre-marked guidelines on the ceiling and the floor. In order of providing a vertical finish, spirit level should be used. Once the dabs have set, it is recommended to use nailable plugs at the rate of two per sheet, so that dab bond can be properly backed up. the plugs should be positioned in the tapered edge, so that they can be covered with the chosen board finish.
K14 Mechanical Fixing
If you are considering mechanically fixed specifications, then the installation of K14 insulated plasterboards is the thing you need. The very installation will depend on the substrate the boards are installed onto, why different set of rules apply for timber framing, metal framing or masonry substrates.
Timber framing
When installing the boards to timber framing studs or battens, the vertical studs or battens should be positioned at maximum 600mm horizontal centres and horizontal ones at maximum 1200mm vertical centres. The battens need to be minimum 25 x 47 mm treated softwood with damp proof course on the back, and mechanically fixed to the wall. The installed plasterboards need to lap the studs, battens or noggins by at least 19 mm at board joints. The Kooltherm insulated plasterboards can be fixed with either drywall screws at 300mm centres or clout nails at 150mm centres. When timber battens are used, one must make sure that the used fixings do not penetrate the timber battens, but should be located at least 10mm form the board edge and be able to penetrate the timber for at least 22.5mm. The same goes when using timber studs, but the minimum pent ration through the timber should be around 25mm. Finally, when installing the fixings, make sure not to overdrive them.
Metal framing
When installing the K14 insulated plasterboards onto a metal framing system, make sure that the metal framing is installed separately, in order of providing a flat base for the boards. The framing needs to be positioned at a maximum of 600mm centres, coinciding with the centre lines and the long edges of the boards. Short lengths of metal framing should be installed at maximum 1200mm centres, between the vertical pieces, below the soffit or ceiling level. The boards can be fixed with either drywall screws at 300mm centres or zinc coated screws at 150mm centres, located at least 10mm from the edge of the boards. Finally, when installing the fixings, make sure not to overdrive them.
Masonry substrates
Kingpsan insulated plasterboards can also be used on rendered or cavity walls, installed onto a clean, dry and flat wall surface. When installing the boards, make sure that their long edges run across the rafters or joists, all properly supported. The installed plasterboards need to lap the joists, rafters or noggins by at least 19 mm at board joints. The boards can be fixed with either drywall screws at 230mm centres or clout nails at 150mm centres. The fixings should be located at least 10mm form the board edge and be able to penetrate the timber for at least 25mm. When installing the fixings, make sure not to overdrive them.
The Kingspan Kooltherm insulation boards should finally rebated and cut for internal and external corners, and lightly butted in order of minimizing the risk of cold bridging at internal and external corners.
In order of ensuring air-tightness of the structure, penetrations and any remaining gaps between the insulation need to be sealed vapour resistant or expanding urethane sealant.
Get a quote for Kingspan K13 and K14 insulated plasterboards for UK insulation projects by contacting us through the Insulation Shop live chat or email address info@insulationshop.co.