


")


Insulated Render Systems
How to Install External Wall Boards and Insulated Render Systems
External wall insulated render systems can be one of the most useful insulation system available. It's a great investment with a quick return through the saving on your energy bills and maintenance cost, it will also increase the appearance and value of the property. Although internal wall insulation has its benefits in lower initial costs and easier application, it will never achieve the results that external one can, all due to the fact that these are sophisticated and complex systems (but still easy to install) which include a number of carefully designed components that all serve the same purpose – protect your exterior wall and improve its energy efficiency. Since all this can contribute to improved thermal performance, considerable money savings and environmental protection, we believe it is the right time to commence your own external wall insulation installation projects, since we have everything you might need right here.
EWI Installation Process
Once you have gathered all the ingredients (thoroughly explained right here), it is time to “bake the cake”, so let’s start with the external wall insulation installation process.
-
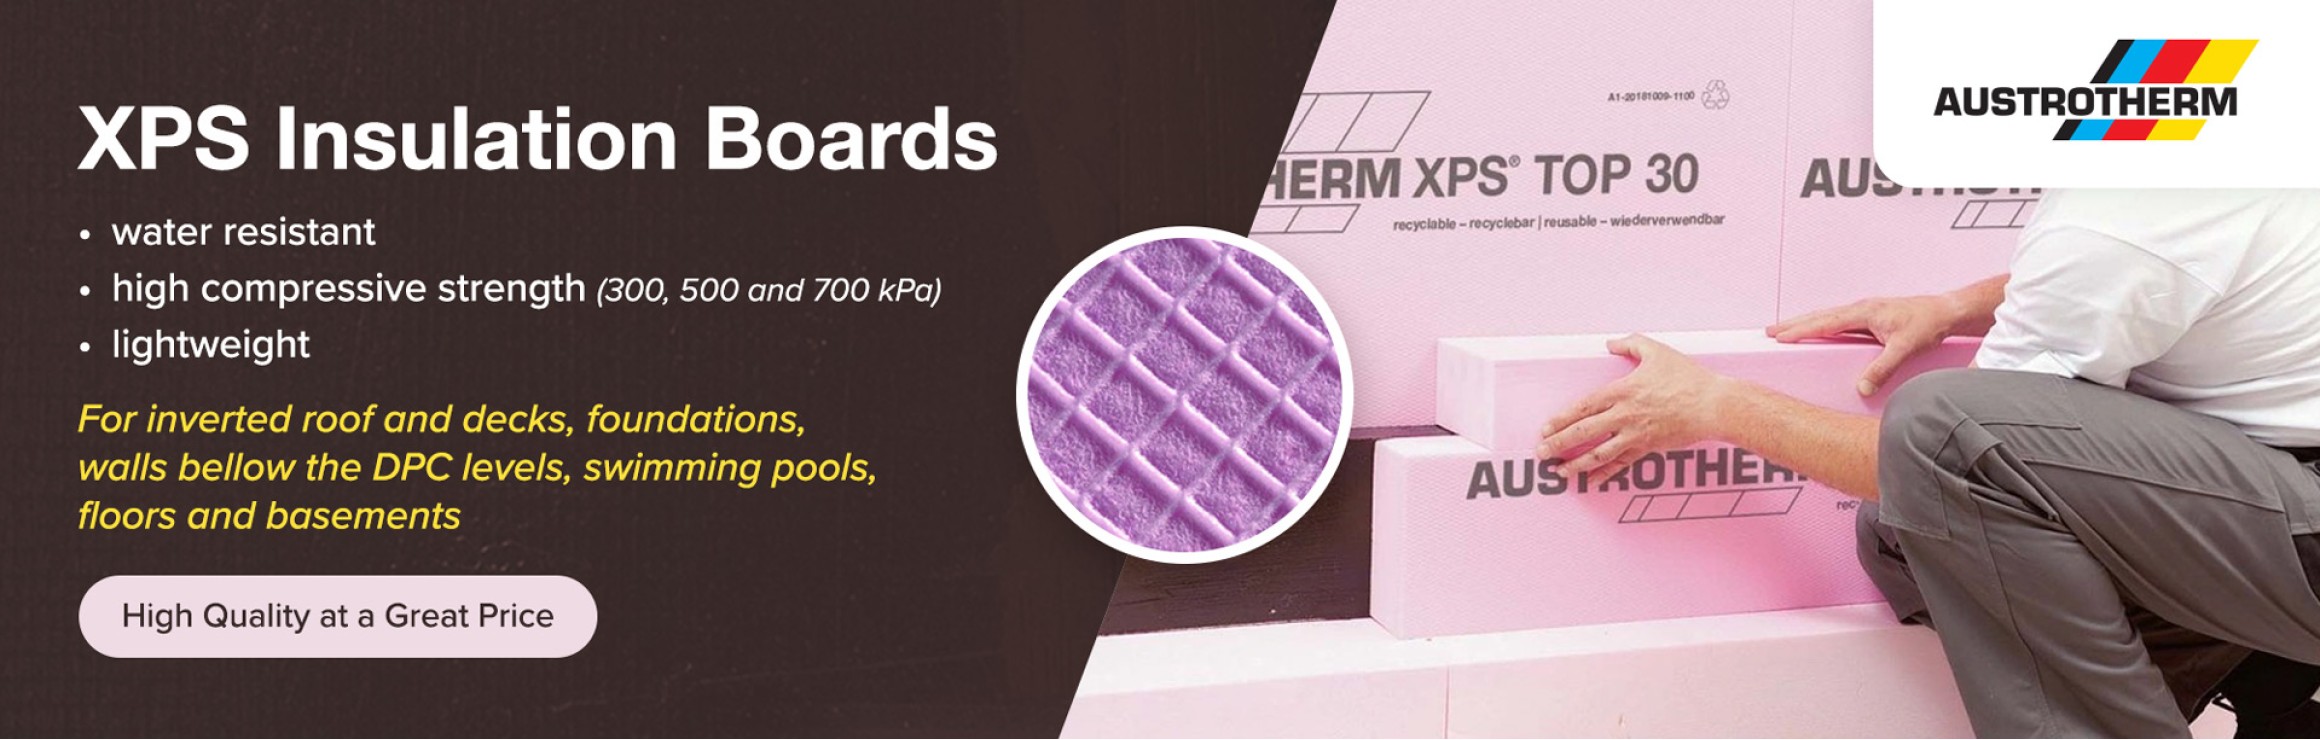
The first thing you need are some high quality rigid insulation boards. Our recommendation is to always choose only approved and certified products that have found their place on the insulation market and are manufactured by renowned insulation suppliers, which is a guarantee itself. We would like to suggest;
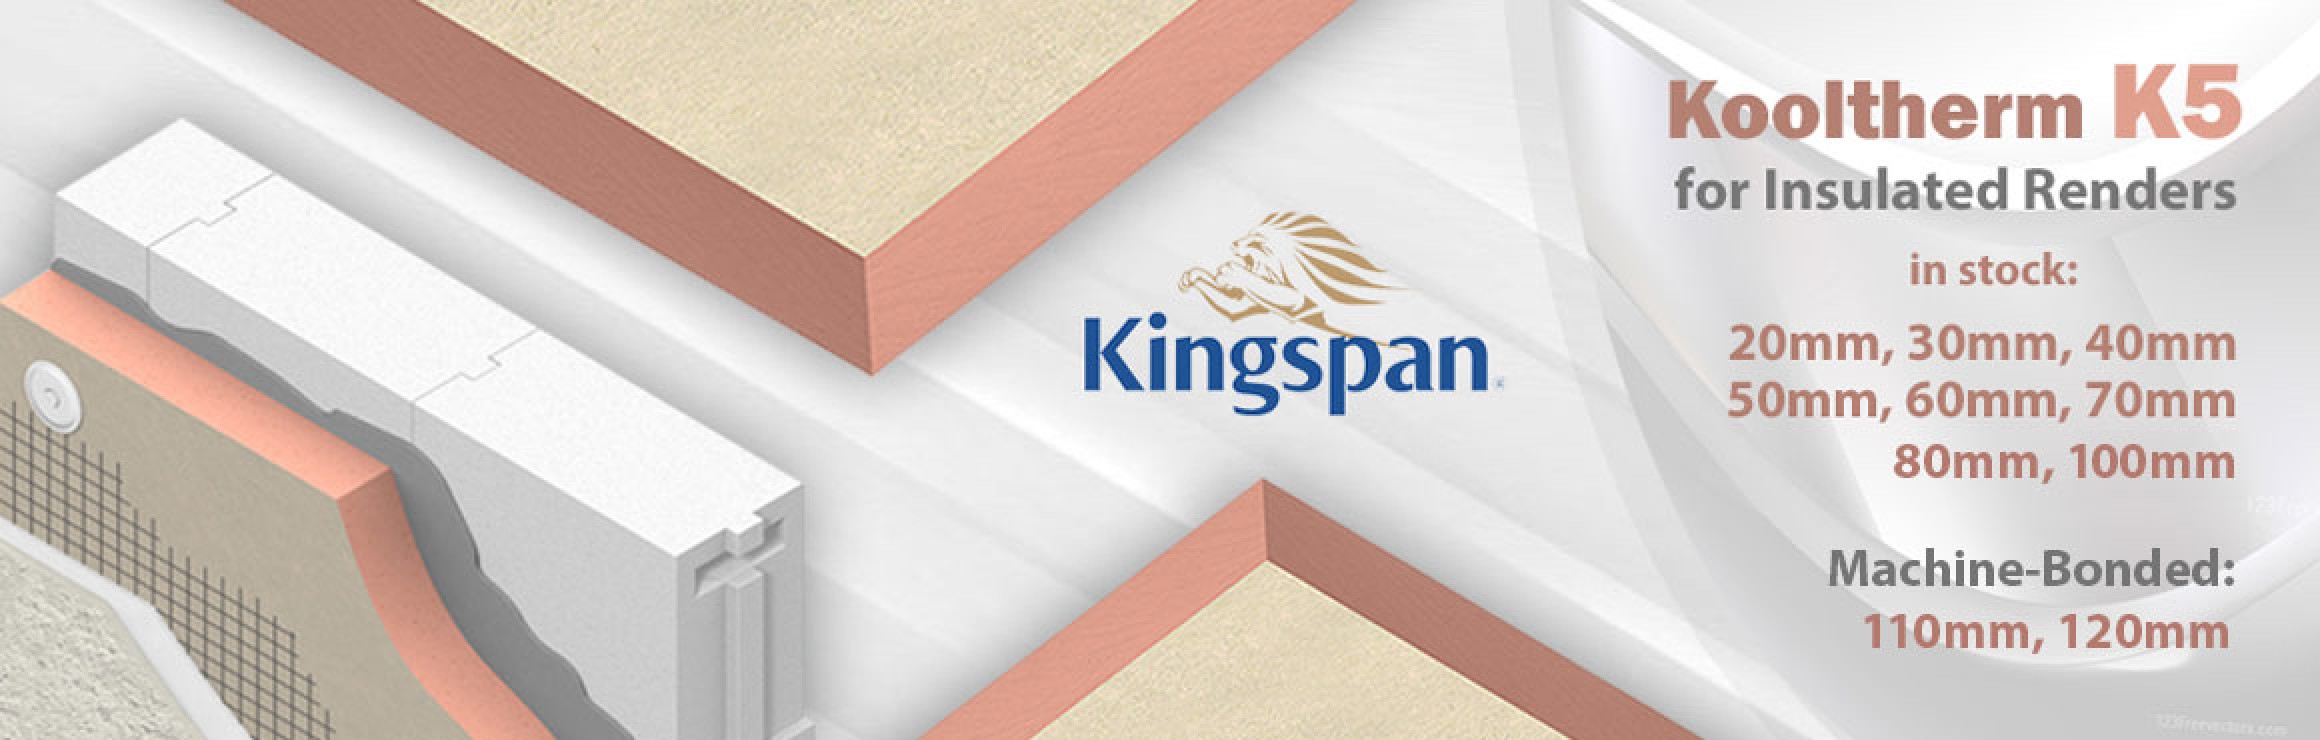
- Kingspan Kooltherm K5 phenolic board consisting of a rigid, premium performance core and glass tissue based facings bonded to the core. The boards are not only highly efficient in the words of insulation but also possess a level of fire resistance, mould growth and vermin resistance which makes them very durable, with basically indefinite life span, if treated properly.
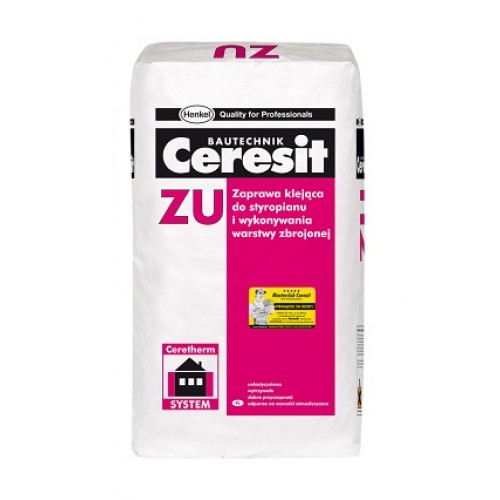
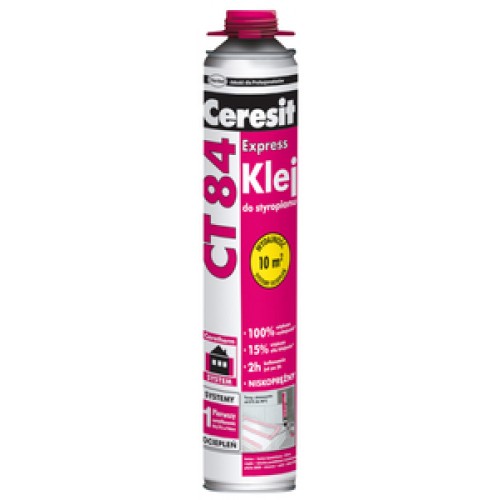
The wall surface needs to be clean and smooth, which includes removing any friable material, lichen and algae removed. Preparations should also include pull out test that will help you determine the type of the fixings required, their length and placement. Then it is time to install full depth surface profiles and the base bead profile installed above ground level, making sure that the damp proofing membrane is not anyhow breached. The base track profile will depend on the thickness of the insulation material and the chosen finish system. It is drilled at the maximum 300mm centres. The boards are fixed to the wall with some high quality adhesive which is applied onto their surface prior to installation. For easier application, we recommend you use the Ceresit CT 84 express and apply it with an application gun. Simply shake the can about 20 times in order of stirring the components, remove the protective cover and screw the can onto the application gun. The foam is applied directly onto the back of the panel, at approximately 2cm distance from the board edges and across the board. Alternatively, instead of using the foam, you can apply Ceresit ZU Insulation and Mesh Adhesive which offers high adhesion, flexibility, durability and weather resistance. Then fix the boards directly onto the wall and press in order of securing proper adhesion. Approximately 20 minutes upon installation of the boards, use a long float to adjust the panels, if necessary. All the gaps between the boards should be sealed with the Ceresit CT 84 express and excessive adhesive simply cut off with a sharp knife.
.
-
Approximately two hours upon installation of your external wall insulation boards, you can use a rasp to ground the boards and proper mechanical fixings to hold the boards into position. In case you are not using adequate equipment to determine the placement and the size of the required fixings, these should be around 70mm longer than the boards, so take this as a rule of thumb. Note that this will also depend on the chosen insulation material and its thickness.
-
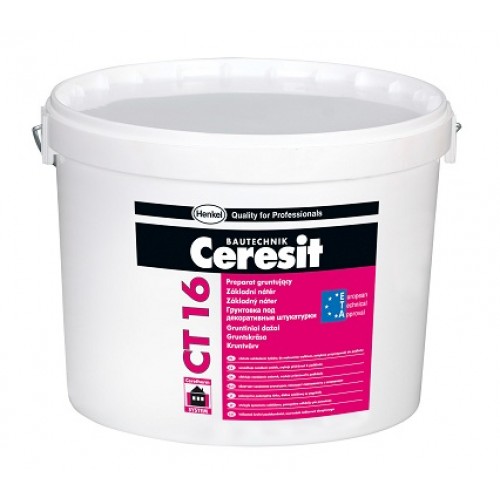
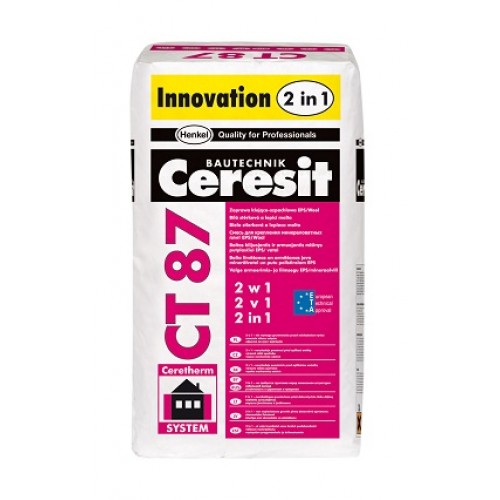
In case you are using the upper mentioned Ceresit ZU as the base coat applied over the installed wall boards, we would recommend you use Ceresit CT 16 Primer which is very versatile, ready to use, and eases the render adhesion and drying process. The same goes even when you use the Ceresit CT 87 white adhesive reinforcing mortar as a base for the acrylic or mineral render coat, since adequate primer can considerably improve and intensify the colour, due to the fact that its versatility enables easy matching with the chosen render colour.
If you have chosen Ceresit CT 87 white adhesive reinforcing mortar, it needs to be properly mixed prior to application, so follow the given instructions in regard to the ratio and mix the content with an electric stirrer. Protect the edges of the building and the edges around window openings covered with the adhesive mortar with some corner beads which should be cut to the right size. The initial layer of the reinforcing layer should be added around door and window openings and then corner beads added, which should be lightly embedded. Then it is time to add another thin layer onto the entire surface of the wall, applied in round moves with a trowel, whereas the thickness of the layer should be around 4 mm to 6 mm thick. Mesh is then fixed onto the wet mortar layer from the top down and pressed by using a steel trowel, making sure that the mesh is completely bedded in. In case of any off-cuts of the mesh, resize them to a size of 300mm x 200mm and use it to reinforce the corners around window and door openings, placed at 45° angle. In order of achieving a completely smooth and levelled surface, cover the entire surface with another layer, approximately 2 to 4mm thick, making sure that the mesh is completely bedded in.
-
One day upon application, the wall surface can be evened with sand paper or a rasp and two days upon installing your external wall insulation system, and apply a thin coat of the primer over the entire surface of the wall. Now, it is time to apply the render coat to your external wall insulation system. Now, it is time to choose the most suitable render, whereas we recommend any of the following:
- Ceresit CT 137 Mineral render which is suitable for both internal and external application, and is available as 1,5mm, 2,00mm or 2,5mm grain size. It is available in a few colours, but can also be painted over, it is weather resistant and vapour permeable. It can be applied onto a number of surfaces, including concrete, cement plasters, gypsum substrates, gypsum cardboards or fibre-boards (all primed with CT 16 Primer). Optimal application temperature should be at around 5 and 25º C for render in white or the one that is going to be painted over and from 9 to 25º C for pastel colours. The entire content of the render should be poured into some clean and cold water and mixed with an electric stirrer until lump-free compound is obtained. In order of achieving the same consistency of the material, one should stir the ingredients and not add water during application. The render is applied with steel long float and evened with a plastic one, in round movements. In case the work cannot be carried out in a day, fix the line and apply some self-adhesive tape, add some plaster and tear off the tape, leaving the plaster on. When you carry on with the work, simply remove the plaster with some water or mechanically, if necessary. It is recommended that scaffolding protection is applied once the render has been applied, for approximately 24 hours for white renders and three days for pastel colours.
- Ceresit CT 74 Silicone render is highly resistant to dirt, weather, fungus and mould resistant, offers a durable solution and great colour stability, since very flexible and impact resistant. Although available in a whole range of colours, it is advised that if a darker shade is to be obtained, the render should be limited to only architectural detail. Optimal application temperature should be at around 5 and 25º C and relative humidity of 60%. The render should not be mixed with other resins, binders or pigments. It is best not to apply it highly sunny walls, and should be protected from the rain, until it is completely dry. For information on application, please refer to the previously explained mineral render.
- Ceresit CT 174 Silicone-silicate render is available in stone like structure grain in either 1,5 mm or 2,00 mm and is available in more than 200 different colours, providing great durability, since weather, dirt and UV resistant. For details on method and conditions of application, please refer to the information given for the mineral render.
- Ceresit CT 72 Silicate render is also available in more than 200 colours and is commonly combined with rigid insulation boards as a part of a EWI system. It requires no preparation (simply mix it with some clean water in accordance with the given instructions) and it is ready for use. It is highly hydrophobic, weather and dirt resistant and vapour permeable. It can be used on a number of substrates, which are smooth and clean, and properly protected from moisture. Just follow the upper mentioned application instructions and make sure to store it in dry conditions.
- Ceresit CT 60 acrylic render is a decorative thin-layer plaster, available in two grain sizes (1,5mm and 2,00mm) and over 200 colours, protected from algae, mould and fungi, weather resistant and ready to use, making it a perfect component for your external wall insulation system. If applying it to absorbent surfaces, these should be covered with CT 16 primer, in the same or similar colour as the render. The render can be applied once the surface is treated with CT 16 is completely dry. For information on application, please refer to the previously explained mineral render.
- Ceresit CT 77 mosaic render is available in two grain size ranges – 0,8-1,2 and 1,4-2,0 and presents a colourful and decorative finish, manufactured in many different colour arrangements. It is best used on areas that can easily get dirty, such as window and door frames, pedestals etc since its properties allow for covering the existing scratches on the surface. The render is mixed with some clean water, whereas in order of achieving full consistency, small amounts of water can be additionally added, but make sure not to add too much since this can make the application practically impossible. The render is applied with a steel long float and evened with the same tool, making sure not to press to hard.
Well, this would be about it, sit back, relax and enjoy your freshly finished exterior wall insulation project.
Read why CERESIT is the BEST CHOICE for INSULATED RENDERS
CHOOSE MANUFACTURERS


")
")


 for Applying Thin Coat Render in EWI Systems.")