


")


What is Dry Lining? - Understanding Home Insulation

by Mark Row
Welcoming Dry Lining Into Your Home
 Understanding home insulation also involves answering the question: “What is dry lining”. Simply put, dry lining involves internal wall or ceiling finish with insulation properties, being a more quick and clean alternative to plastering, increasingly popular in the UK, over the last 15 years. Know that dry lining includes different techniques of applying plasterboard to masonry, timber or metal surfaces and is usually more simple and, unlike traditional plastering, needs no water. A very important thing to know about dry lining is the fact that it can also (moderately) add to your home insulation. Thermal efficiency of your home can be even more increased if the plasterboard applied has some vapor layer fitted or better yet an insulant bonded to its surface.
Hopefully, the introduction has helped you understand and know some basics on dry lining, so we can move on with the details. As mentioned before, in dry lining, a plasterboard is applied to different surfaces, like masonry walls or metal and timber frames, which dictates the way plasterboard are fitted and also affects dry lining overall performance.
Before starting the dry lining installation process, always be very careful when choosing the right plasterboard, bearing in mind that these are available in different thicknesses, sizes and lengths. The plasterboard you opt for must correspond to the stud centers. On the other hand, always consider the place it is going to be fitted, since more humid areas or those more susceptible to water penetration and moisture will involve using moisture resistant plasterboards, which will probably be the best option for your bathroom or kitchen. Also know that dry lining (or creating!) a curved wall for example may involve using thinner plasterboards or if applicable regulation fire rating requires a plasterboard of certain width, try using two thinner plasterboards, rather than only one meeting the requirements.
 If you are fixing dry lining to timber or metal frames, this can be done by either tacking, which involves using nails or by screwing which involves using screw fixings, which are, to our humble opinion a better option, since they offer a more stabile support for the plasterboard. Know that dry lining can also be applied to timber ceilings, just like it is fitted onto timber stud walls, of course recognizing some differences inherent to these surfaces, usually involving the fact that plasterboards tend to be massive and heavy, so, since the dry lining process will include lifting up the board to the ceiling, better opt for smaller, lighter boards. Also proper placement of a few fixings will hold the plasterboard in place and ease your work, enabling you to rest your arms when installing.
After choosing the right plasterboard and performing the needed measurements and cuttings, it’s time to get on with the work and fit the plasterboard onto your timber wall. We advise that you start from the edges in, since starting from the middle of the wall may cause additional problems and unnecessary cuts, if the plasterboard is not plumb. The plasterboard can be fixed to the wall by tacking the nails (preferably 40mm nails) or using screws to tighten the board to the wall (preferably 25mm long). First fixings should be tacked from the centre outwards and not too much apart (there are usually evenly spaced fixing marks on the face of the board), since these will hold the board and allow you to carry on with your work – place them too far apart and you will constantly have to hold the board. The rest of the boards should be fixed 200 mm (when using screws) or 150 mm (when using nails) around the stud. When placing the fixing, make sure not to go too far, since this might damage the paper envelope.

When dry lining a masonry wall, the technique used is the so called “dot and dab” and is usually a bit more complex than dry lining a timber wall. It involves using a drywall adhesive which is applied to the wall with a trowel when the plasterboard is tamped back onto the adhesive dabs and checked horizontally and vertically using a level for the perfect alignment.
Knowing basic dry wall methods and materials is important due to their advantages and benefices including the eco-friendly manufacturing process, flexibility, easy transportation and installation, space saving and thermal insulation performance.
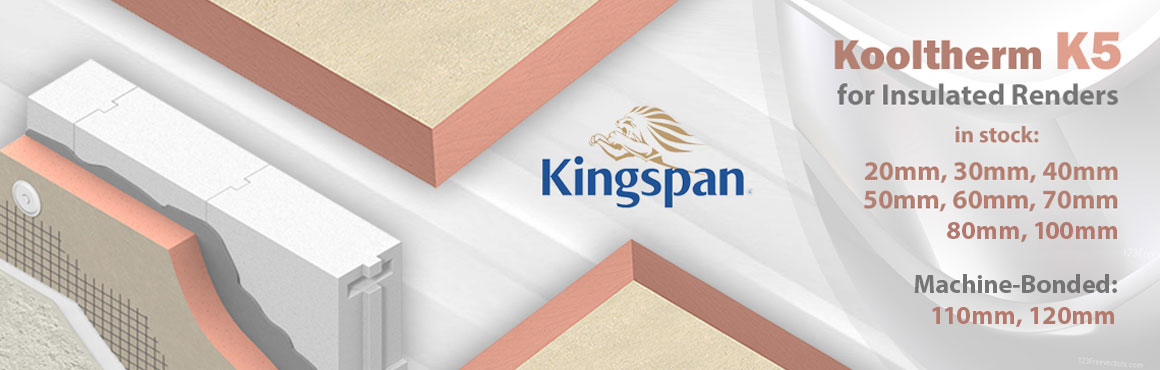
Now that you know all there is to know about dry lining, Insulation shop is here to offer you everything you might need. Choose our high quality bagged products like British Gypsum Thistle Hardwall Plaster for your masonry or Gyproc Dry-Wall Plasterboard Adhesive for high, medium or low suction backgrounds. You can also go for Knauf Plasterboards, now available as Soundshield Plasterboards especially designed for places with where sound reduction is a major concern and Moistureshield Plasterboards for your bathroom or other area with high humidity. Finally, as mentioned before, adding some insulation to the plasterboards can be a very energy-efficient solution, so go for Kingspan Insulated Plasterboards or Celotex PIR insulation bonded to plasterboard for both masonry and timber wall constructions.


Thistle Hardwall Plaster Knauf Plasterboard Kingspan Insulated Plasterboards
If you have more thoughts on Dry lining, feel free to post them in the comments section below. I will be more than happy to answer any questions you might have.